
Loading paper in Tray 2/3/4 (Optional)
For the paper that can be used, please see "Applicable paper" ,"Paper applicable to each tray".
![]()
- You can load the A5-sized paper in either portrait or landscape.
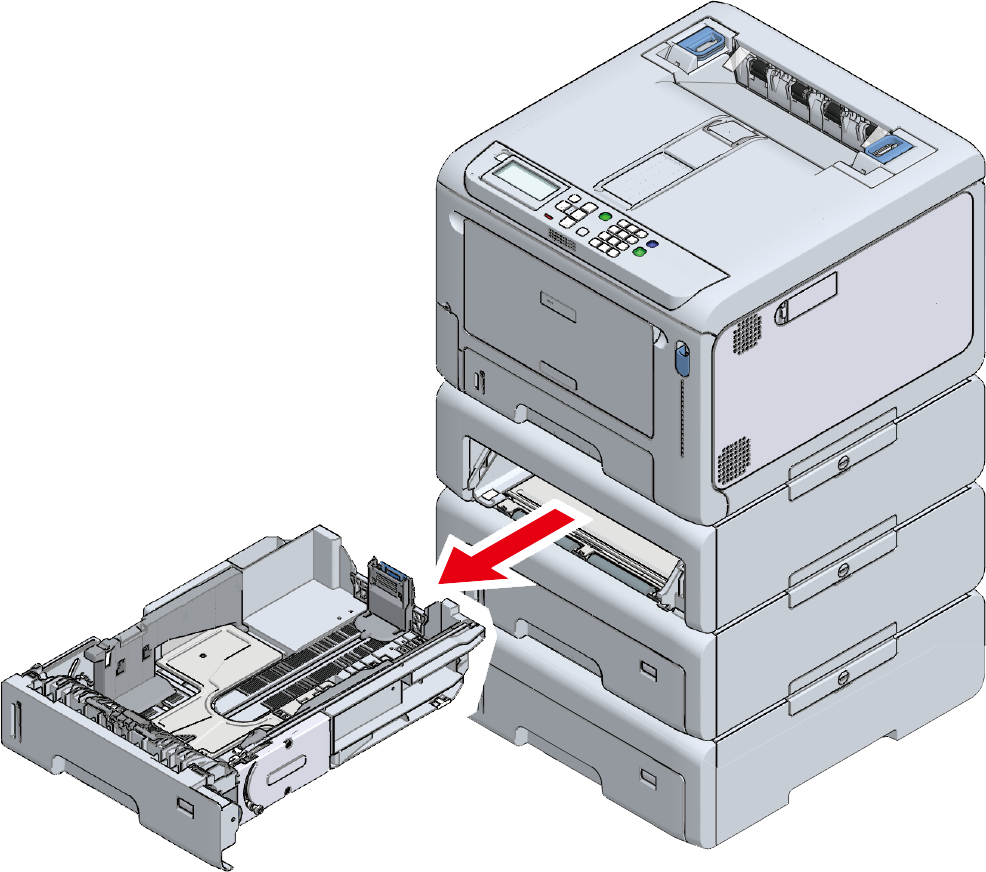
Pull out the paper cassette.
- Set the paper size dial to fit the paper size.
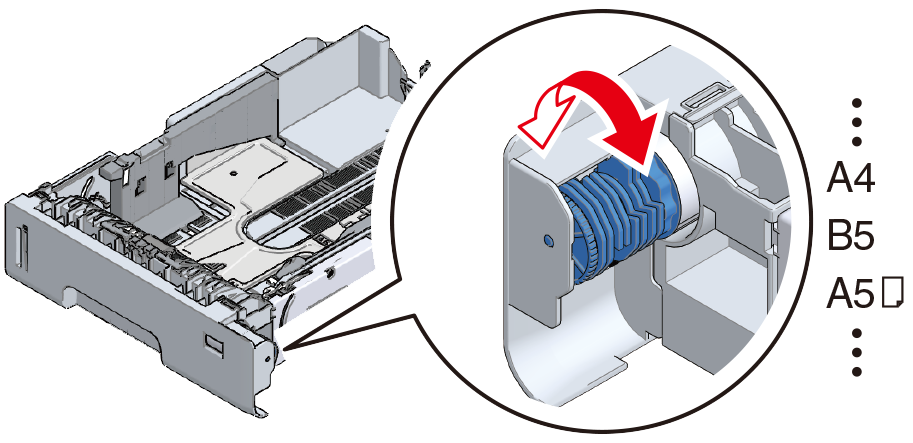

- Set it to [OTHER] when you have loaded the paper of a standard size not available on the paper size dial.

- If you pull out the paper cassette with the power on, "Change tray setting?" may appear on the display. This message will disappear automatically in 10 seconds after the paper cassette is returned to the main unit.
If you have changed the paper, press [Yes] and change the settings of paper size, media type and media weight accordingly. Also, change the setting of the paper size dial of the tray.
- Make sure that the setting of the paper size dial matches the size of paper to be loaded. If they do not match, a paper size error will occur, and you will be unable to print.
- Be cautious for the orientation of paper that can be loaded in either portrait or landscape, like A5 size.
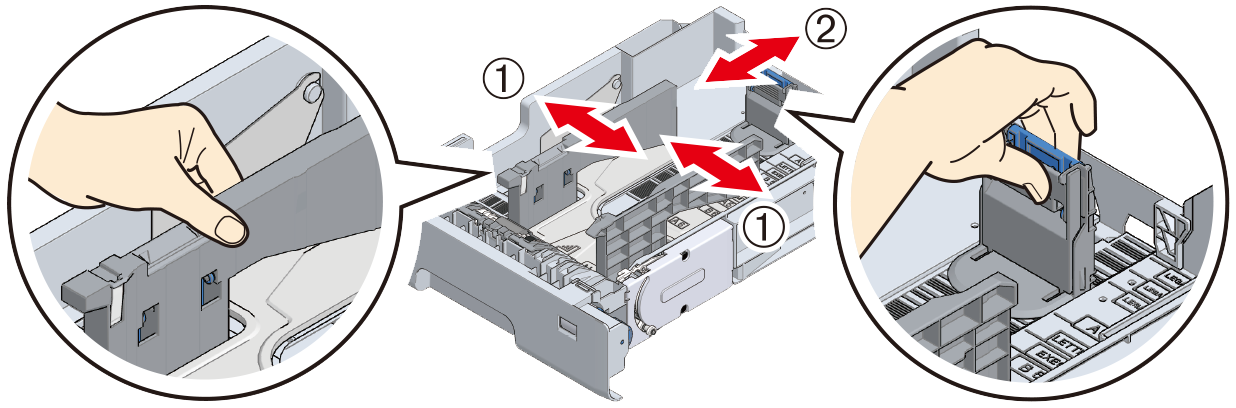
Slide the paper guide and the blue part of the paper stopper to fit the size of the paper to be loaded.
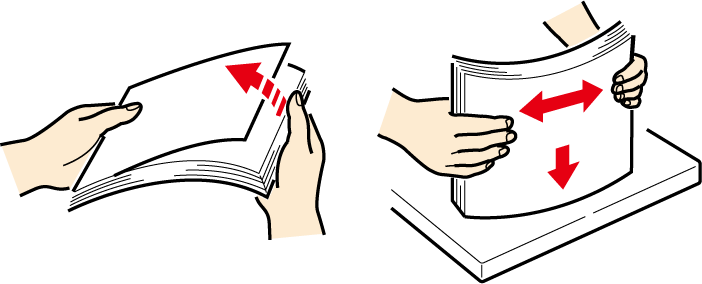
Shuffle the paper well. Align edges of the paper horizontally.
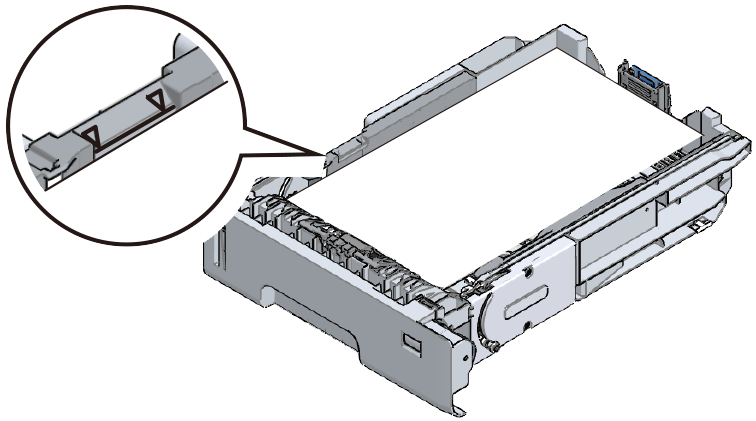
Load the paper with the printing side down, and press it down from top.
- Do not exceed the ▽ mark on the paper guide when loading paper.
Check that the size and orientation of the loaded paper well match the settings of the paper size dial.
- If the size and the orientation of the loaded paper do not match the settings of the paper size dial, a paper size error may occur during printing and you may not be able to print.
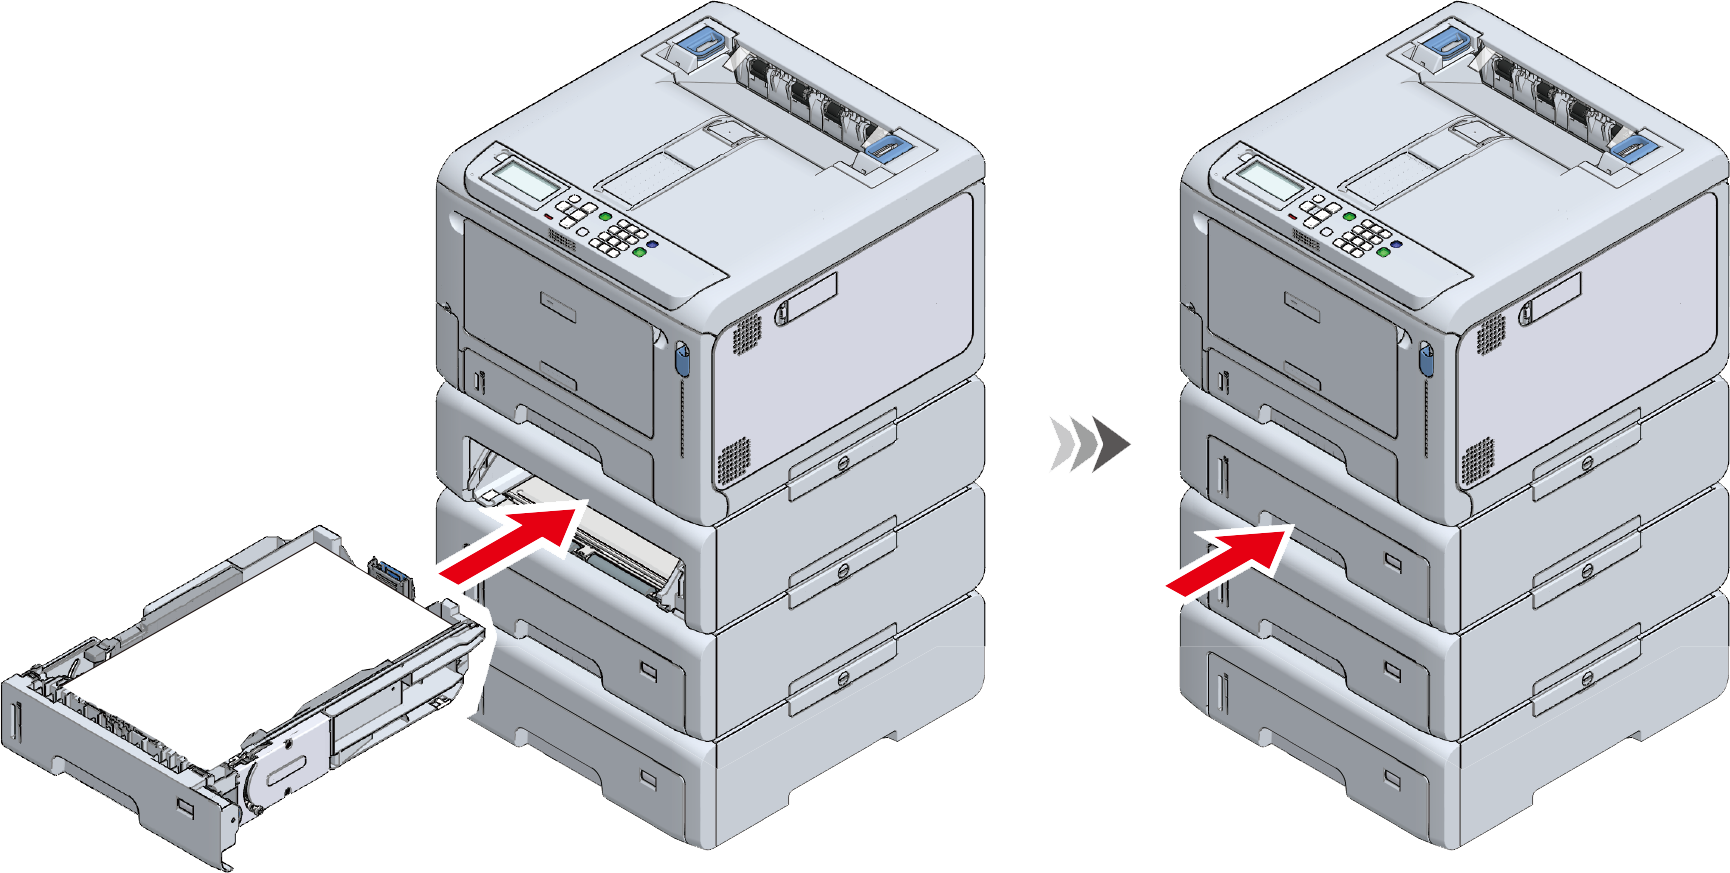
Return the paper cassette to this machine.
- If the paper cassette is returned to the main unit forcefully, the paper stopper may slide.
Proceed to "Setting paper information on the operator panel".