
Loading paper in Tray 1 (for B513) or Tray 2/3/4 (Optional)
This section explains the procedure for loading paper of standard sizes.
Here, the procedure of loading paper in Tray1 of B513 is taken for example. The same procedure applies to loading paper in the optional Tray 2/3/4.
For the procedure of loading paper in Tray 1 for B433, please refer to "Loading paper in Tray 1 (for B433)".
For the paper that can be used, please refer to "Applicable paper" and "Paper applicable to each tray".
To load paper of irregular sizes, please refer to "Printing on irregular paper (Custom)".
![]()
For Tray 1, A5-sized paper can be loaded in either portrait or landscape orientation.
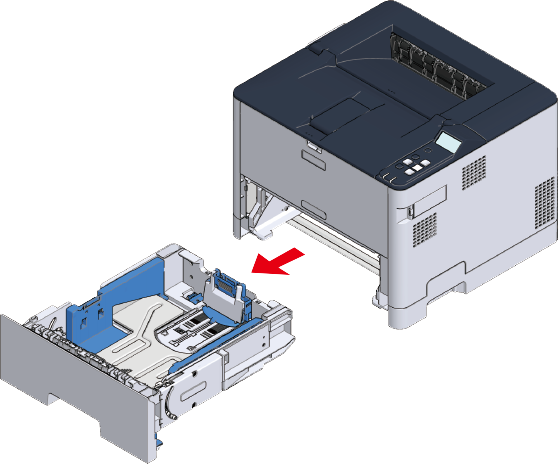
Pull out the lower paper cassette until it stops, and then lift it slightly upward to remove it.
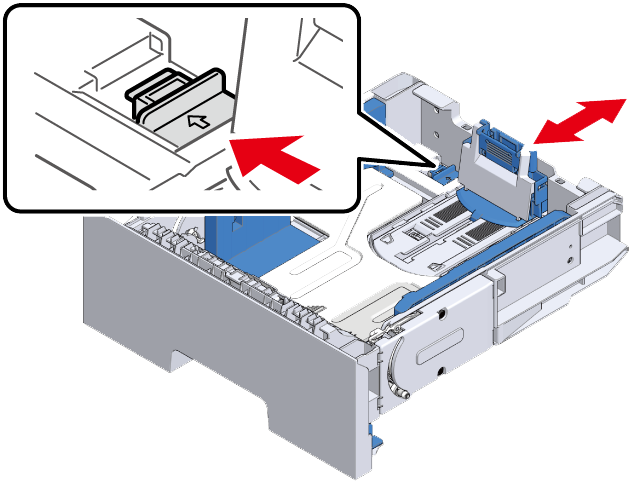
Slide the blue part of the paper stopper to fit the length of the paper to be loaded. To load paper of A4, Legal (13 inches), Legal (13.5 inches) or Legal (14 inches), pull the rear side of the paper cassette backwards with the lock lever pulled outwards.

- Do not remove the cork from the metal plate.
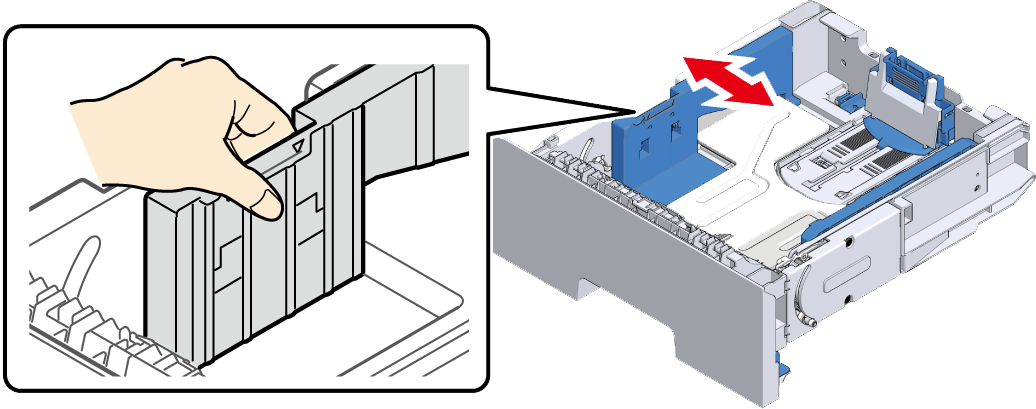
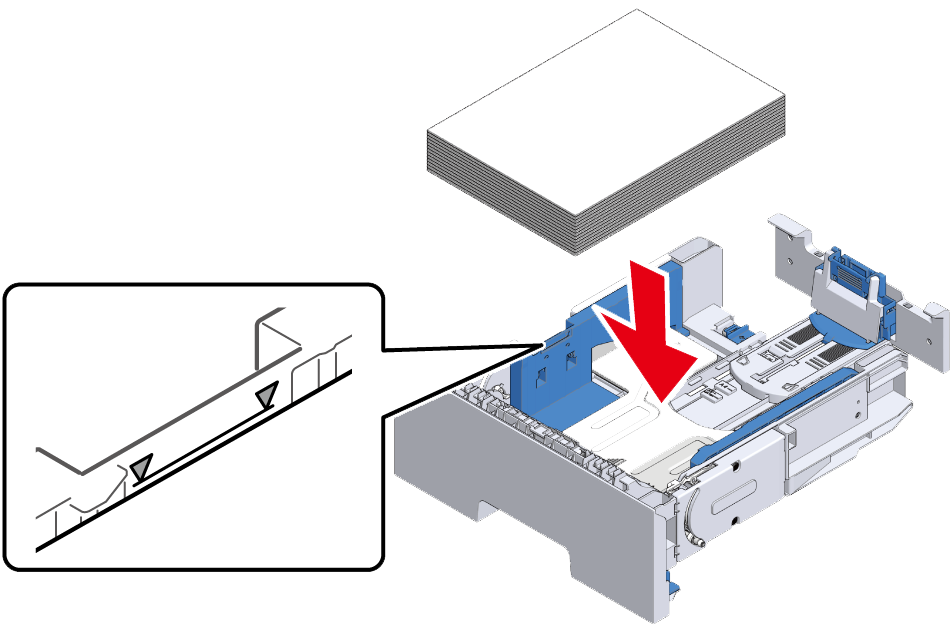
Slide the blue part of the paper guide to fit the width of the paper to be loaded.
- If the metal plate of the paper cassette is raised, press it down firmly until it clicks into place, and then insert it into the printer. If the metal plate is inserted into the main unit while it is raised, malfunction may be caused.
Shuffle the paper well. Align edges of the paper horizontally.
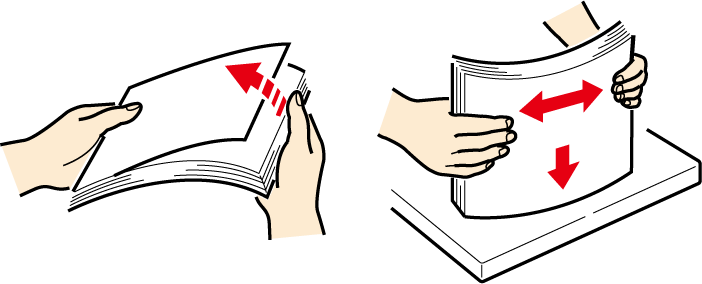
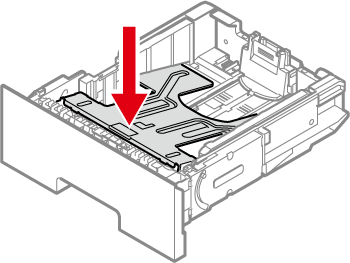
Load the paper with the printing side down, and press it down from top.
- Do not exceed the ▼ mark on the paper guide when loading paper.
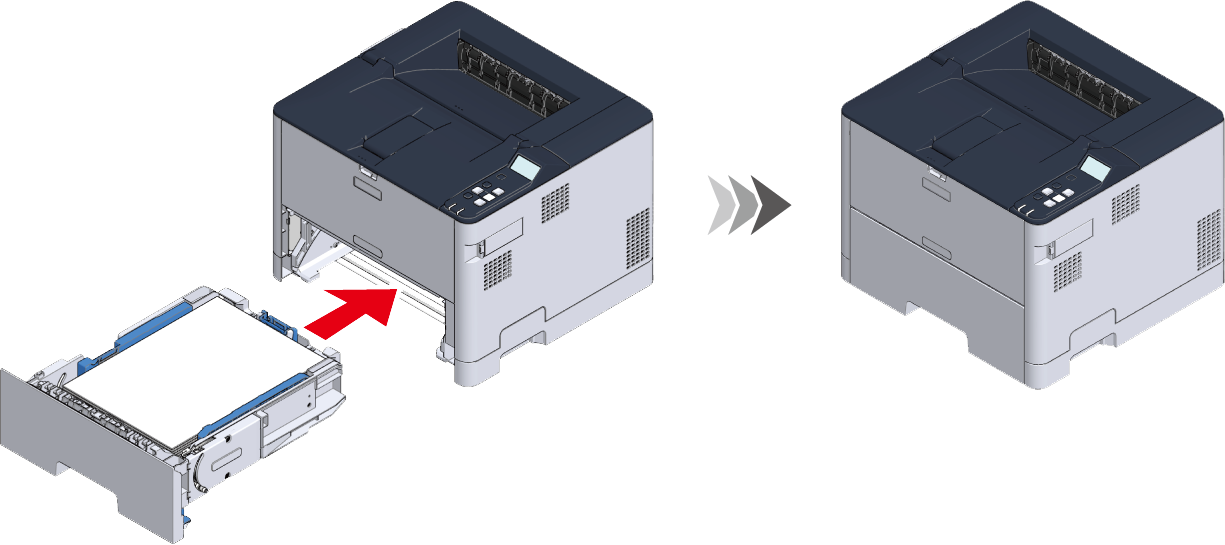
Insert the paper cassette into the main unit from slightly above and install it back to its original position.
- If you return the paper cassette to the main unit by force, the paper stopper may shift.
Proceed to "Setting paper information on the operator panel".