
Scan using the device and save the image on your mobile terminal.
-
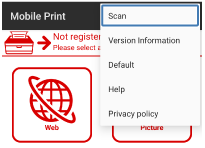
Select Scan from the menu.
-
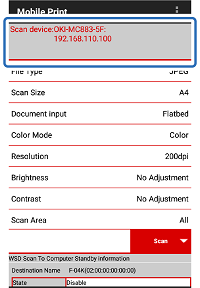
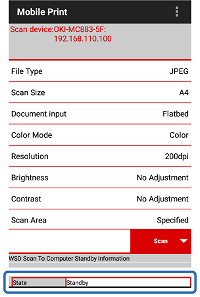
Check that the device to be used is displayed in [Scanning Device Name].
Memo
To change the device, tap the name displayed in [Scanning Device Name] to move it to the Discover Devices screen. Then, tap the name of the device you want to use in the list of the registered devices.
If the device to be used is not registered, refer to "Register printer".
-
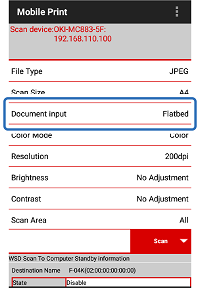
From [Document input], select [Flatbed] (document glass) or [ADF] (automatic document feeder).
-
Tap [Disable] under [Device Status] of [WDS Scan To PC Standby information].

-
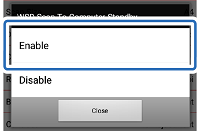
Tap [Enable] on the [WDS Scan To PC Standby information] screen.
-
Check that [Device Status] is now [Standby].
-
Load the document in the location of the device selected in Step 3.
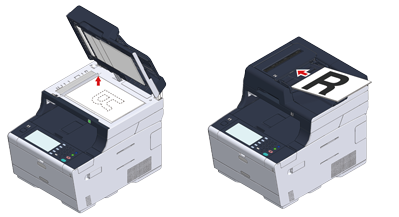
Left: Flatbed; Right: ADF
-
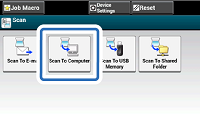
On the control panel of the device, select [Scan To PC] from the scan menu.
Memo
The operation method varies depending on the device you are using. For details, refer to the user's manual of the device you are using.
-
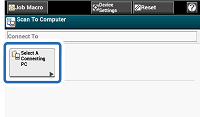
Press [Select Destination Name].
-
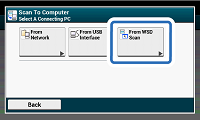
Press [Select from WSD Scan Connected PC List].
-
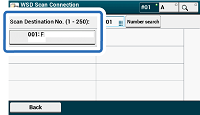
On the control panel of the device, check that your mobile terminal is displayed as a destination, and then select it.
-
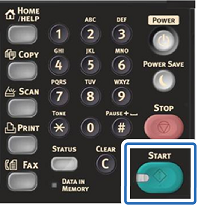
Press the start button of the MFP.
-
When the scanned image appears on your mobile terminal, tap [Save] or [Share].
[Save] Icon:Save images to your mobile terminal.
[Share]: Saves the image to the cloud server or sends it by e-mail.

-
If you tap [Save] icon, tap the folder in which you want to save the image. If you tap [Share], tap the desired application.