E-mail setting is required when using “Scan To E-mail”, “Internet Fax”, and “Scan To Fax Server”.
Before setting, fill in the “Checking the Setting Information” with the required information.
Memo
-
Prepare an e-mail address specified for this machine. If you do not have an e-mail address that this machine uses, obtain the e-mail address by making a contract with a provider or using other ways.
-
Make “Network Settings” before using this function.
-
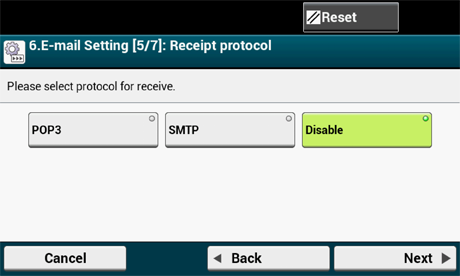
If you want to receive and print e-mail attachment files that are sent to the machine, select [POP3] or [SMTP] to suit your e-mail setting environment.
-
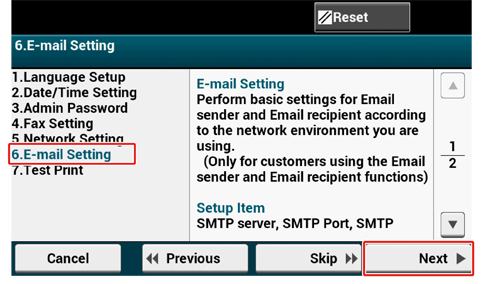
If you do not want to use functions which require e-mail settings, press [Skip>>] and go to Test Print.
-
Check that the [6. E-mail Setting] screen is displayed, and then press [Next].
The screen prompting you to enter the mail server address is displayed.
-
Enter the mail server address and press [Next] on the touch panel.

-
Use the numeric keypad on the operator panel to enter the SMTP port and press [Next].

-
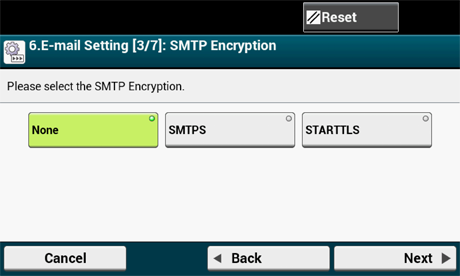
Select SMTP Encryption.
-
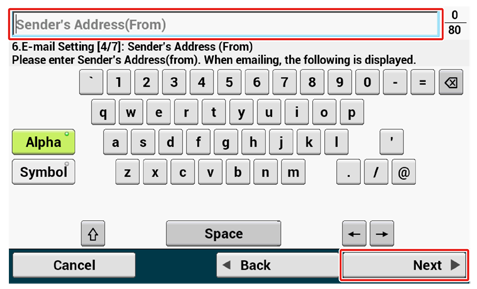
Enter the sender's address and press [Next] on the touch panel.
-
Set the Reception Protocol.
Memo
If [POP3] is selected, enter the POP3 server address.
-
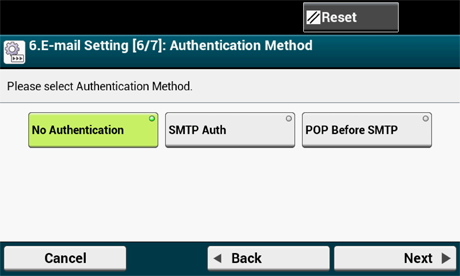
Select Authentication method.
Memo
If [SMTP Auth] or [POP Before SMTP] is selected, enter the user name and password, and then press [Next].
-
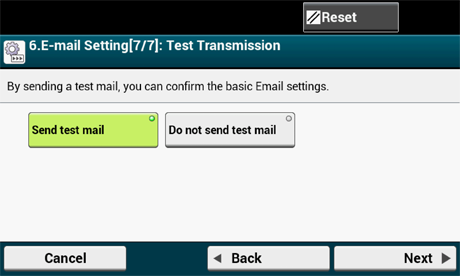
Set whether to send a test mail.
Memo
To send a test mail, enter a destination address capable of receiving.
-
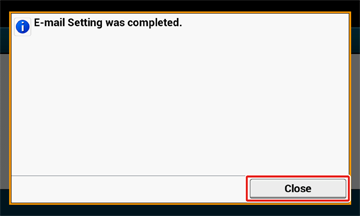
After updating the settings, press [Close].
Memo
The screen switches automatically in about 7 seconds without pressing [Close].