Setting Output Tray
The machine outputs paper to the Output tray, Upper Output Tray or Rear output tray. Paper types that can be output to each tray are as follows.
-
Press [Device Settings] on the touch panel.
-
Press [Paper Setup].
-
Press
 or
or  several times and press [Output Tray].
 -
Set the output tray you want to use for each function.
Available paper for output trays.
|
Output tray |
Supported paper type |
Capacity |
|---|---|---|
|
Output tray |
|
250 sheets (80 g/m2) |
|
Upper output tray |
|
100 sheets (80 g/m2) |
|
Rear output tray |
|
|
Note
Do not open or close the Rear output tray during printing. Paper jams may result.
Upper Output Tray/Output Tray
Use these output trays for plain paper. Paper is output with the printed side down.
They are not available for envelopes, labels, or long paper.
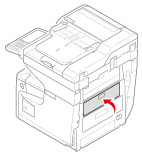
Check that the rear output tray on the rear side of the machine is closed. While the rear output tray is open, paper is always output to the Rear Output Tray.
Memo
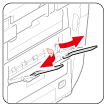
Open the paper support so that outputs do not slip down from the output tray.
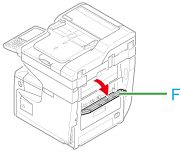
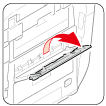
Rear Output Tray
Use rear output tray when printing on envelopes, labels, or long paper.
Paper is output with the printed side up. Plain paper is also available for this output tray.
-
Open the rear output tray (F) on the rear side of the machine.
-
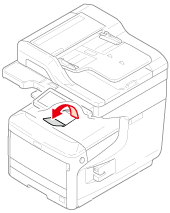
Unfold the paper support.
-
Open the sub support.