
Before Using Scan To Shared Folder
Creating a Shared Folder in a Computer
Create a shared folder in a computer in which the scanned document is saved.
Note
If you create a shared folder in the following steps, all users whose accounts are set in your computer can access the shared folder.
-
Click [Start] on the Windows task bar, right-click [Computer], and then click [Properties].
-
Check the name of [Computer name].
You need the computer name you checked when you register the destination in the machine. Write it down.
-
Close the window.
-
Create a folder in which documents are saved on the computer.
-
Right-click the created folder, and then click [Properties].
-
Click the [Sharing] tab, and then click [Advanced Sharing].
-
Select the [Share this folder] check box, and then click [Permissions].
-
Select the [Allow] check box of [Change] in [Permissions for Everyone], and then click [OK].
-
Click [OK].
Registering a Destination (Profile)
Register the created shared folder in the machine so that the folder can be used for Scan To Shared Folder.
When you perform Scan To Shared Folder, you send data to the profile that you specify as a destination.
You can register up to 50 profiles.
You can register a destination (profile) in the following three ways. This manual recommends to use Configuration Tool or the Web page where you can enter information with the computer keyboard.
Registering a Destination (Profile) from Configuration Tool
This section describes the registration method that uses the Configuration Tool on a computer.
If you click  (Save to device), the changed settings are reflected to this machine.
Note
-
To use the Profile Manager, install the User Setting plug-in. You can install the User Setting plug-in at the same time as when installing Configuration Tool or install the plug-in later.
-
You must register the machine in Configuration Tool in advance.
-
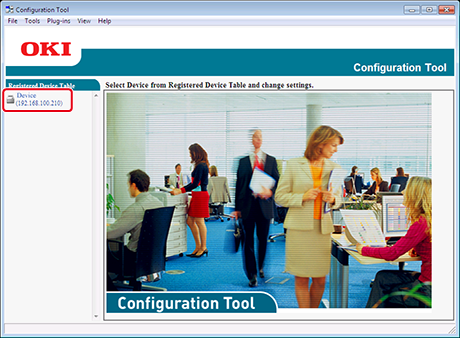
Click [Start], and then select [All Programs] > [Okidata] > [Configuration Tool] > [Configuration Tool].
-
Select the machine from [Registered Device Table].
-
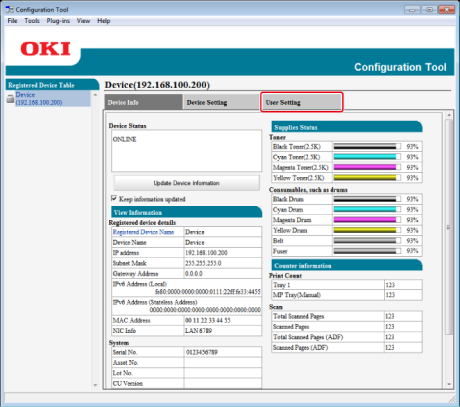
Select the [User Setting] tab.
-
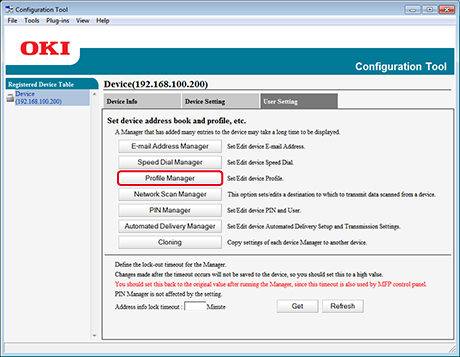
Click [Profile Manager].
-
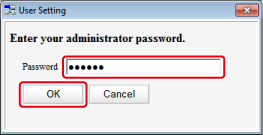
Enter the administrator password, and then click [OK].
-
Click
 (New).
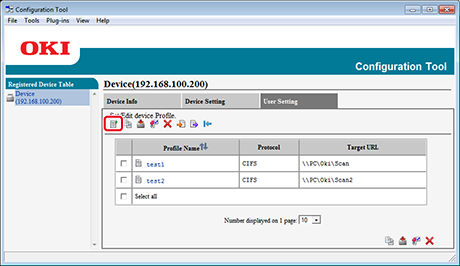
-
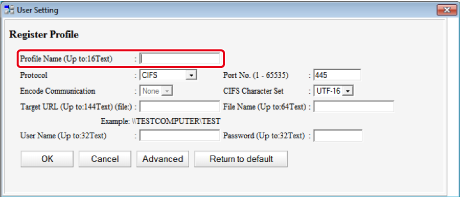
Enter the name of a transmission destination in [Profile Name].
-
Select [CIFS] for [Protocol] to register a shared folder.
-
Enter the path of the shared folder that you set on the computer in [Target URL].
-
Enter the port number to use in [Port No.].
-
If access privileges are set to the shared folder, enter the user name and password in [User Name] and [Password].
-
Select [Encode Communication] and [CIFS Character Set] if necessary.
-
Enter [File Name] if necessary.
-
Click [Advanced], and then set the advanced settings.
-
Click [OK].
-
Click
(Save to device).
Registering a Destination (Profile) from the Web Page
This section describes the registration method that uses the Web page on a computer.
-
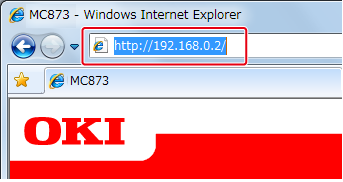
Start a Web browser.
-
Enter the URL, "http://(The IP address of this machine)" in the address bar, and then press the <Enter> key.
About the IP Address of this machine, refer to "Checking the Information of the Machine".
-
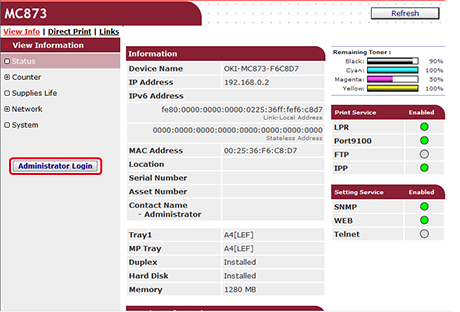
Click [Administrator Login].
-
Enter "admin" in [User Name] and the administrator password of the machine in [Password], and then click [OK].
For Mac OS X, enter "admin" in [Name] and the administrator password of the machine in [Password], and then click [Login].
-
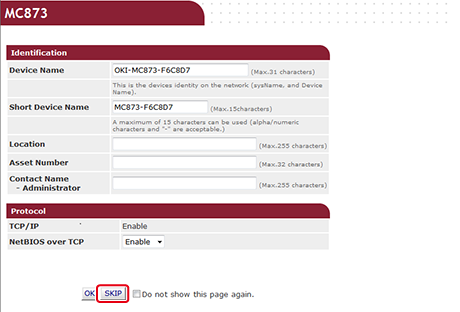
Click [SKIP].
-
Click [List] at the top of the screen.
-
Click [Profile] on the left side of the screen.
-
Click [New].

-
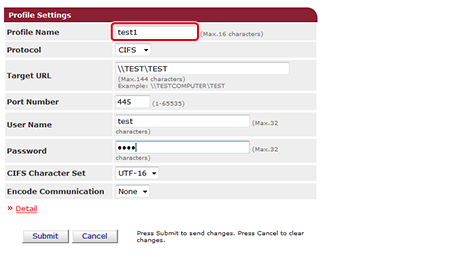
Enter the name of a transmission destination in [Profile Name].
-
Select [CIFS] for [Protocol] to register a shared folder.
-
Enter the path of the shared folder that you set on the computer in [Target URL].
-
Enter the port number to use in [Port Number].
-
If access privileges are set to the shared folder, enter the user name and password in [User Name] and [Password].
-
Select [CIFS Character Set] and [Encode Communication] if necessary.
-
Set [Detail] if necessary.
-
Click [Submit].
Registering a Destination (Profile) from the Operator Panel
This section describes how to register profiles from the operator panel.
-
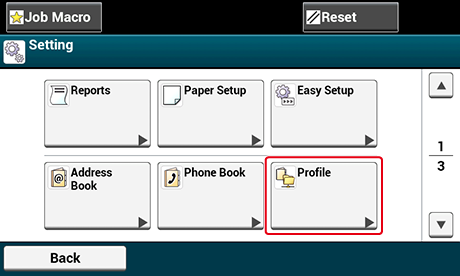
Press [Device Settings] on the touch panel.
-
Press [Profile].
-
Select a number, and then press [Register].
-
Enter a profile name, and then press [Next].
-
Select a setting, and then press [Next].
-
Enter the values of the transmission destination computer name and the shared folder name in the "
 the transmission destination computer namethe shared folder name" format.
Example:
PC1shareMemo
-
If there is no DNS server in the network, you cannot specify the computer with the computer name (the transmission destination computer name). In such a case, use the IP address of the computer to set.
Example:
192.168.0.3share
-
-
Press [Next].
-
If access privileges are set to the shared folder, enter the user name and password in [User Name] and [Password].
Note
-
If domain management is performed, enter "User name@domain name".
-
If domain management is performed and you cannot establish a connection even after entering "User name@domain name", delete "@domain name".
-
Also, access the Web page of this machine, select [Admin Setup] > [Network Menu], and then set the NetBIOS domain name in [Workgroup name] in [NBT].
-
For the domain name, check with your network administrator.
-
-
-
Press [Close].
-
Set other items if necessary.
-
Press [OK].