
Connecting with WPS
If a wireless LAN access point supports WPS, you can easily connect to the wireless LAN with the easy setup button (WPS button).
Connect by following the procedure below.
-
Check the position of the WPS button by referring to the instruction manual that is included in a wireless LAN access point or other document.
-
Check that the wireless LAN access point starts and is operating properly.
-
Turn the machine on.
Memo
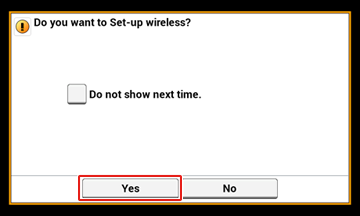
If the following screen is displayed, press [Yes], and then proceed to step 6.
-
Press [Device Settings].
-
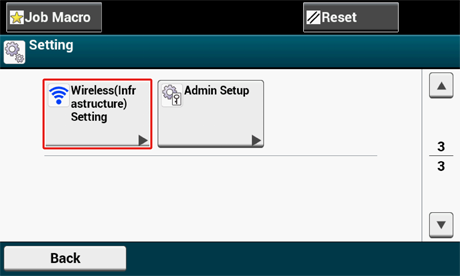
Press [Wireless(Infrastructure) Setting].
-
Enter the administrator name and password and press [OK].
The factory default administrator name and password are "admin" and "aaaaaa" respectively.
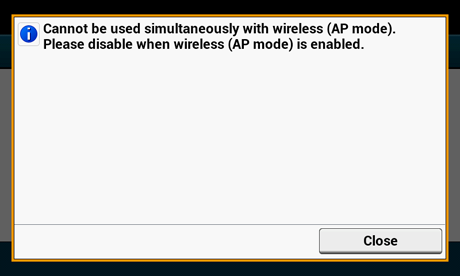
The following message is displayed for approximately 5 seconds.
-
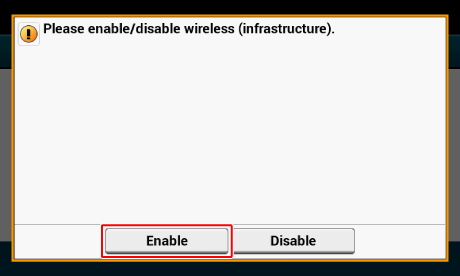
Press [Enable].
-
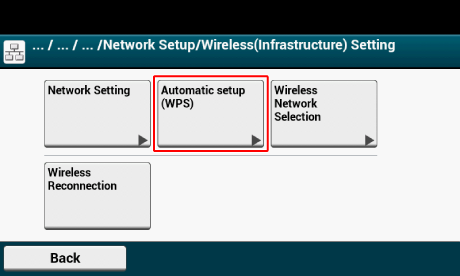
Press [Automatic setup (WPS)].
-
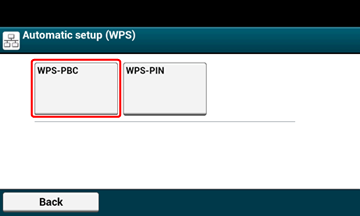
Press [WPS-PBC].
-
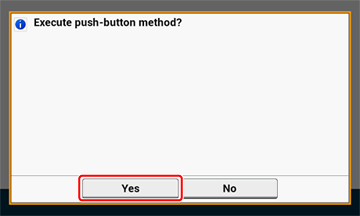
Press [Yes].
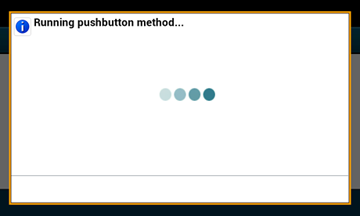
The machine starts searching for wireless LAN access points. The following screen is displayed for approximately 2 minutes, during which press and hold the WPS button for the wireless LAN access point for a few seconds.
Note
You cannot operate the panel when WPS is in progress.
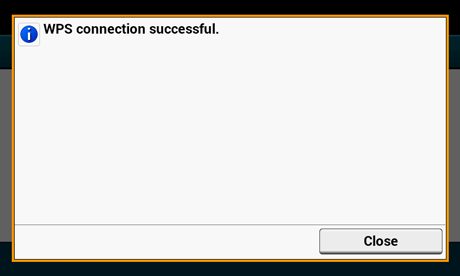
When the following screen is displayed, the setting of the wireless LAN is complete.
Memo
-
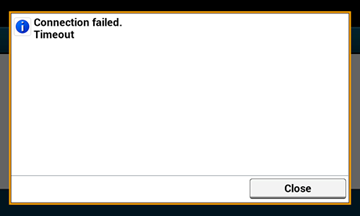
If the following screen is displayed, repeat the procedure from step 9.
-
[Overlap] is displayed when multiple WPS push buttons are pressed almost at the same time at two or more wireless LAN access points and connection is not established. Wait for a while, and then try again.
-