
Install the printer driver, scanner driver, fax driver, etc. from the "Software DVD-ROM" to the computer.
Other utility software can be installed at the same time.
For Windows
Connect the machine and computer via a network or USB cable and start installing.
Note
Check the status of this machine before installing.
-
This machine is turned on.
-
For network connection, this machine is connected to the network via a LAN cable and required information such as IP address is already set.
-
Insert the included "Software DVD-ROM" into a computer.
-
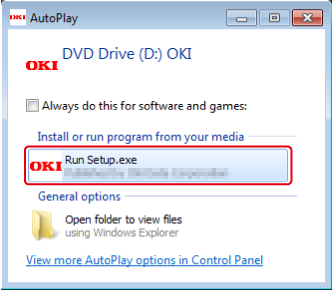
When [Auto Play] is displayed, click [Run setup.exe].
Memo
If the [User Account Control] dialog is displayed, click [Yes].
-
Select a language from the drop-down list.
-
Read the license agreement, and then click [Accept].
-
Read [Environment advice], and then click [Next].
-
Select [Network] or [USB connection] in accordance to the connection method of the machine and computer, and then click [Next].
If the [Windows Security Alert] dialog is displayed, click [Allow access].
-
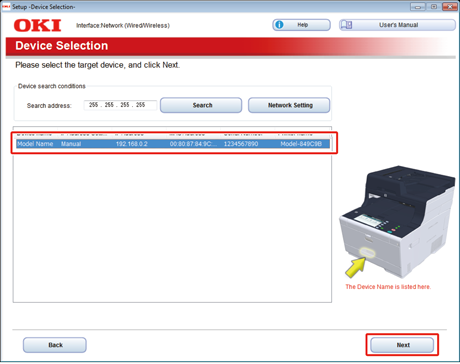
Select the model name of the machine, and then click [Next].
-
Click [Install Optional Software].
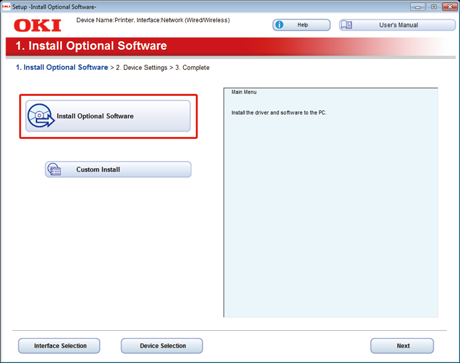
Installation starts.
Memo
The following software is installed.
-
PCL6 Printer Driver (Including Network Extension and Color Swatch Utility)
-
Scanner Driver
-
ActKey
-
FAQ
Install other software from Custom Install.
-
-
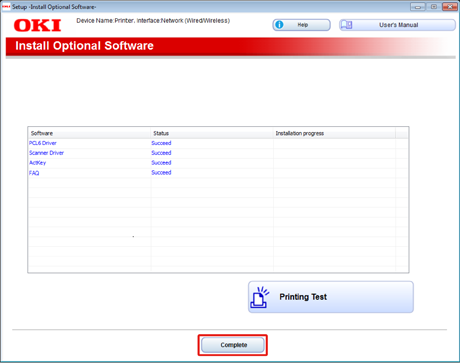
Make sure that the software is successfully installed, and then click [Printing Test].
Select the printer for test printing, and the click [Printing Test].
Make sure that the test printing was successful, and then click [OK].
-
Click [Complete].
-
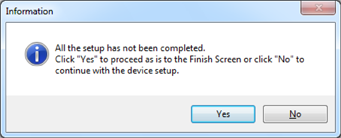
Click [Next].
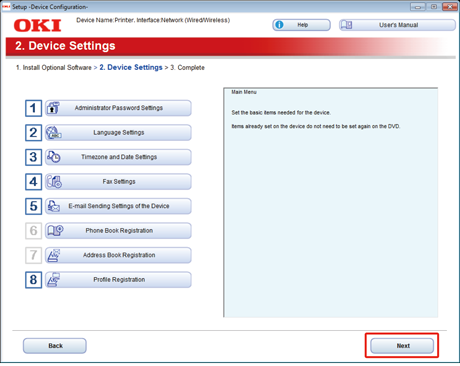
If the following dialog is displayed, click [Yes].
-
Click [Exit].

For Mac OS X
This section describes how to install the PS printer driver and scanner driver.
For installation of utilities, see the following.
Install the Mac OS X scanner driver
-
Make sure that the machine and a computer are connected and the machine is turned on, and then insert the included "Software DVD-ROM" into the computer.
-
Double-click the [OKI] icon on the desktop.
-
[Drivers] > [Scanner] > Double-click [Installer for OSX].
-
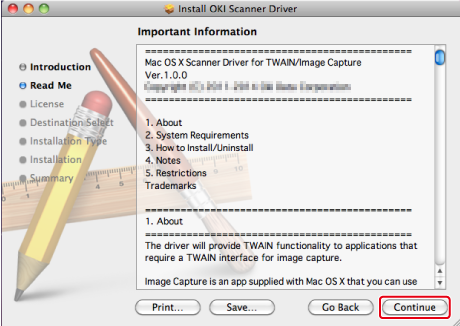
Click [Continue].
-
Check that the displayed content, and then click [Continue].
-
Read the license agreement, and then click [Continue].
-
Click [Agree].
-
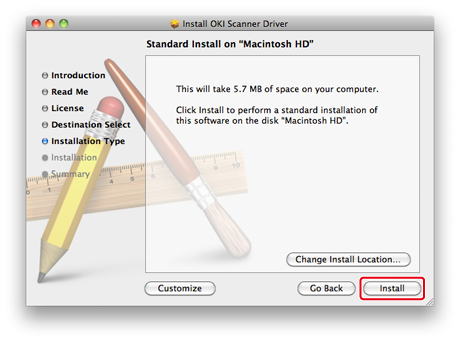
Click [Install].
To change the driver installation location, click [Change Install Location].
-
Enter the administrator name and password, and then click [Install Software].
-
Click [Continue Installation].
-
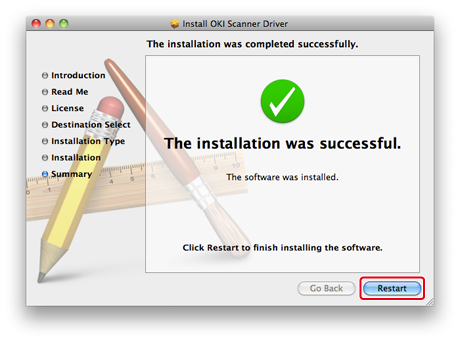
Click [Restart].
Install the Mac OS X PS printer driver
When the installation is complete, print a test page in step 15.
-
Make sure that the machine and a computer are connected and the machine is turned on.
-
Insert the "Software DVD-ROM" into a computer.
-
Double-click the [OKI] icon on the desktop.
-
[Drivers] > [PS] > Double-click [Installer for OSX].
-
Enter the administrator password, and then click [OK].
Follow the on-screen instructions to complete the installation.
-
Select [System Preferences] from the Apple menu.
-
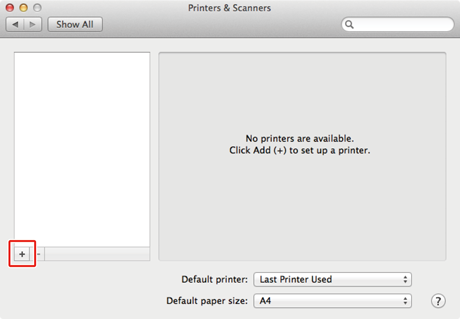
Click [Printers & Scanners].
-
Click [+].
Select [Add Printer or Scanner...] when the menu is displayed.
-
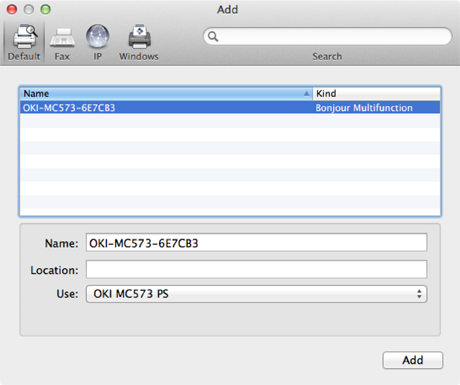
Click [Default].
-
Select the machine, and then select [OKI MC573 PS] in [Use].
Types of Names
Displayed in the Connection
Methods List
Network
OKI-MC573 (last 6 digits of MAC address)
Bonjour
USB
OKI DATA CORP MC573
USB
Memo
To change the name, enter a new name into [Name:].
-
Click [Add].
-
If the confirmation screen for optional equipment appears, click [OK].
-
Make sure that the machine is added to [Printers] and [OKI MC573 PS] is displayed for [Kind].
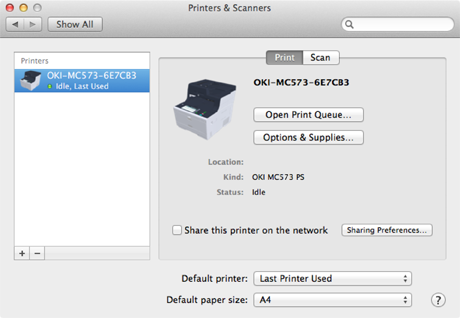
Note
If [OKI MC573 PS] is not displayed for [Kind] correctly, click [-], delete the machine from [Printers], and then newly perform steps 8 to 12.
-
Click [Open Print Queue...].
-
Select [Print Test Page] from the [Printer] menu.