
Note
-
A document on the document glass can be scanned to the A4 size only.
-
A file can be saved only in JPEG.
-
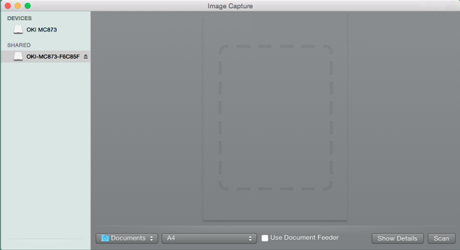
Start Image Capture in advance. Select a device from a list that is displayed on the left side of the Image Capture screen.
-
Use Image Capture in the standard view. This function cannot be used in the detail view.
Follow the steps below to register a computer.
-
Select [Application] > [OKIDATA] > [Scanner] > [Network Scanner Setup Tool].
-
Select the machine from the [Scan Settings] dialog box, click [Register], register [Name] and Host in the [Register host address], and then click [OK].
-
Press [Scan] or
 (Scan).
 -
Set a document on the document glass.
-
Press [Scan To Computer].
If [Select A Connecting PC] does not appear, proceed to step 7.
-
Press [Select A Connecting PC].
-
Press [From Network] or [From USB Interface] in accordance with the connection method of the machine and computer.
-
For the network connection, select a destination computer to which the data is sent.
-
Press [Select An Application].
Memo
If you select [Application] or [PC-FAX] on Mac OS X, the same action as when [Folder] is selected takes place.
-
Select the destination.
-
Press
 (START).